Dental Implant Procedures
For dentists, performing dental implant procedures requires a thorough understanding of the steps, tools, and clinical techniques involved. Here's a detailed guide for the dental implant procedure from a professional perspective:

Patient Assessment:
Review medical history, conduct oral exams, and evaluate systemic conditions like diabetes or smoking that may affect healing.
Imaging:
Use panoramic X-rays or CBCT (Cone Beam CT) scans to assess bone density, height, and width. Identify anatomical structures like the sinus cavity or inferior alveolar nerve.
Treatment Planning:
Determine the type of implant system, placement sites, and need for adjunct procedures (e.g., bone grafting or sinus lift). Digital planning software can aid in precise placement and prosthetic planning.
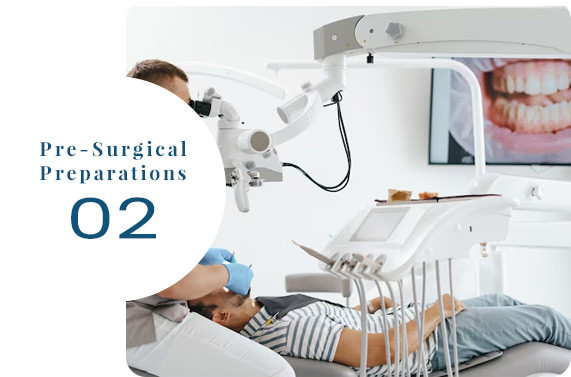
Patient Instructions:
Provide pre-operative instructions, including fasting if sedation will be used.
Sterile Environment:
Ensure the surgical setup is sterile. Use barriers, autoclaved instruments, and personal protective equipment (PPE).
Surgical Guide (optional):
Fabricate or acquire a surgical guide for precise implant placement if using guided surgery.

Step 1: Anesthesia
Administer local anesthesia, and, if necessary, provide IV sedation or general anesthesia.
Step 2: Incision and Site Preparation
Make a small incision in the gingiva to expose the underlying bone. Use a tissue flap or punch technique depending on the case.
Mark the implant site with a pilot drill (using sequential drilling protocols).
Step 3: Implant Placement
Use the appropriate drill sequence to prepare the osteotomy, ensuring adequate cooling to prevent overheating. Place the implant into the osteotomy using a torque-controlled handpiece or wrench. Verify primary stability (typically ≥ 35 Ncm for immediate loading).
Step 4: Closure
Cover the implant with a healing abutment or cover screw, depending on whether a one-stage or two-stage protocol is used.
Suture the gingiva using absorbable or non-absorbable sutures.
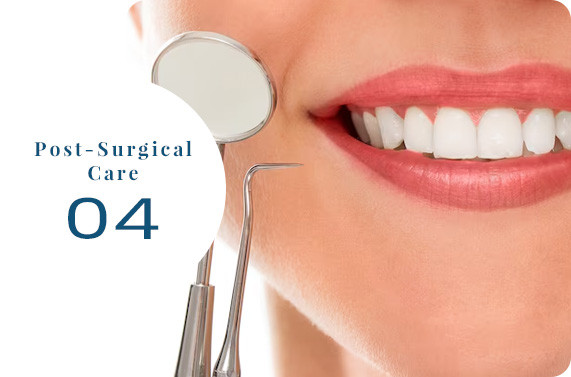
Provide post-operative instructions:
Prescribe NSAIDs or analgesics as needed.
Antibiotics:
If necessary, prescribe antibiotics to prevent infection.
Oral Rinse:
Recommend chlorhexidine mouthwash to maintain hygiene.
Dietary Advice:
Advise a soft diet and avoidance of smoking or alcohol. Schedule follow-up appointments to monitor healing.
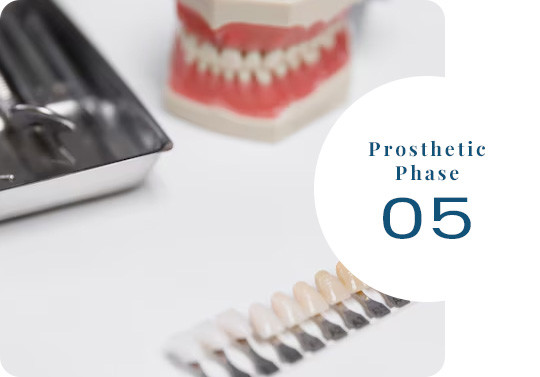
After Osseointegration (3–6 months):
Remove the healing abutment or uncover the implant if a two-stage approach was used.
Take impressions using:
Closed tray or open tray techniques. Digital scanning for CAD/CAM fabrication of prosthetics. Select and attach the appropriate abutment. Place the final prosthesis, checking occlusion and aesthetics.
Educate the patient about oral hygiene practices to prevent peri-implantitis. Schedule regular check-ups (every 3–6 months initially) to assess implant health. Use radiographs to monitor bone levels and detect complications. Professional Considerations
Continuing Education:
Attend courses or workshops on advanced techniques (e.g., All-on-4, zygomatic implants, or guided surgery).
Materials:
Choose high-quality implant systems with reliable track records (e.g., Straumann, Nobel Biocare).
Complication Management:
Be prepared to manage complications such as implant failure, nerve damage, or peri-implantitis.