
A sinus lift procedure, also known as sinus augmentation, is performed to increase the amount of bone in the posterior maxilla by raising the sinus membrane. This is often necessary for patients with insufficient bone height for dental implants. Below is a detailed guide for dentists:
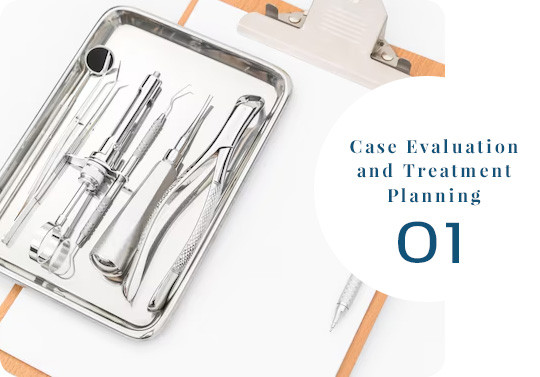
Step 1: Patient Assessment
Medical History:
Assess for contraindications like sinus infections, smoking, or systemic conditions affecting healing (e.g., uncontrolled diabetes).
Clinical Examination:
Evaluate oral health, including existing bone levels and tissue health.
Step 2: Imaging
CBCT (Cone Beam CT):
Assess sinus anatomy, bone height, and volume. Identify any sinus pathology (e.g., polyps, mucosal thickening) that may need to be addressed before surgery.
Step 3: Treatment Planning
Determine the need for a lateral window approach or a transcrestal approach:
Lateral Window Technique:
Used for severe bone loss (less than 4–5 mm).
Crestal Approach:
Suitable for mild to moderate bone loss (5–7 mm).
Select graft material:
Options include autografts, allografts, xenografts, or synthetic bone substitutes.
Patient Instructions:
Advise the patient to avoid anti-inflammatory drugs that may impair healing. Prescribe prophylactic antibiotics and a nasal decongestant if necessary.
Sterile Environment:
Ensure a sterile surgical setup, including instruments and barrier protection.


Step 1: Anesthesia
Administer local anesthesia, with or without sedation depending on patient comfort and case complexity.
Step 2: Lateral Window Technique
Incision:
Create a crestal incision and reflect a flap to expose the lateral sinus wall.
Window Creation:
Use a round bur or piezoelectric device to create a bony window in the lateral sinus wall. Preserve the sinus membrane during this process.
Membrane Elevation:
Gently elevate the Schneiderian membrane using specialized instruments.
Bone Grafting:
Place bone graft material into the elevated sinus cavity. The amount depends on the desired bone height for implant placement.
Closure:
Reposition the flap and secure it with sutures.
Step 3: Crestal Approach (Osteotome Technique)
Osteotomy Preparation:
Prepare the implant site using sequential drilling.
Sinus Floor Elevation:
Use osteotomes or a hydraulic device to gently elevate the sinus floor through the implant site.
Bone Grafting:
Insert graft material into the elevated area.
Simultaneous Implant Placement:
Place the implant if primary stability is achieved (≥35 Ncm torque).
Medications:
Prescribe antibiotics, analgesics, and an anti-inflammatory if needed. Recommend a saline nasal spray to keep the nasal passages moist.
Patient Instructions:
Avoid blowing the nose or sneezing forcefully for at least two weeks. Follow a soft diet and avoid physical exertion for a few days. Schedule a follow-up visit in 7–10 days to assess healing and remove sutures if necessary.

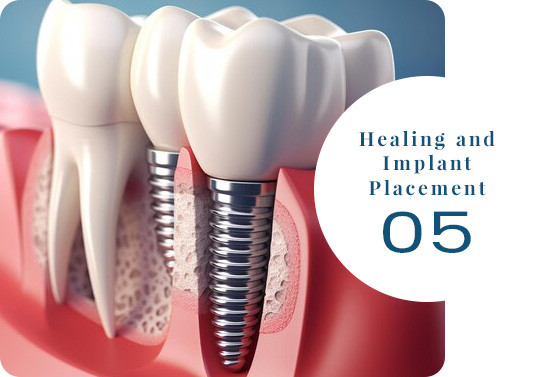
Healing Time:
Allow 4–9 months for graft maturation before implant placement (if not placed simultaneously). Monitor the site with imaging to confirm bone integration and stability.
Regular post-operative evaluations to monitor graft and implant success. Educate the patient on maintaining excellent oral hygiene to prevent complications.


Sinus Membrane Perforation:
Repair with a collagen membrane if perforation occurs.
Graft Infection:
Manage with antibiotics and close follow-up.
Sinusitis:
Treat promptly with decongestants or referral to an ENT specialist if needed.