

Step 1: Comprehensive Assessment
Clinical Examination:
Assess oral health, including soft tissues, bite alignment, and any existing pathology.
Radiographic Analysis:
Use CBCT (Cone Beam CT) scans to analyze bone quality, density, and volume. Identify critical anatomical landmarks (sinuses, nerves, mental foramen).
Medical History:
Evaluate systemic health conditions (e.g., diabetes, smoking) that may impact healing.
Step 2: Treatment Planning
Prosthetic Design:
Decide on fixed acrylic, porcelain, or zirconia prosthetics based on patient preferences and budget.
Surgical Guide (Optional):
Create a digital or manual surgical guide for precise implant placement.
Occlusal Analysis:
Plan for balanced occlusion to ensure long-term success.
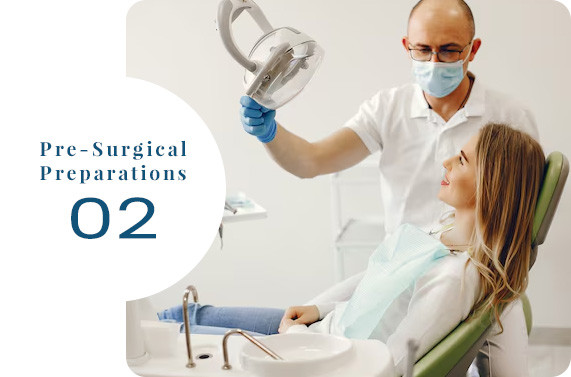
Pre-Op Instructions:
Provide detailed instructions, including fasting if sedation will be used. Prescribe pre-operative antibiotics if indicated.
Sterile Setup:
Ensure sterile instruments, autoclaved components, and barrier protection for the surgical environment.
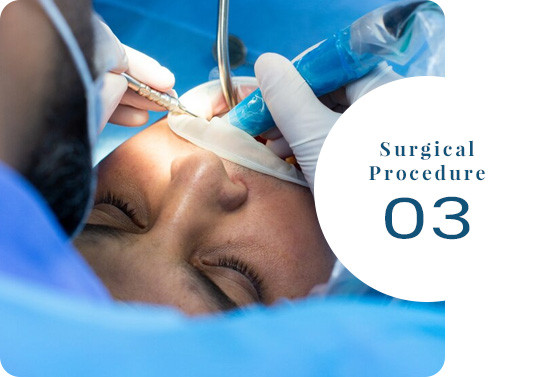
Step 1: Anesthesia
Administer local anesthesia with or without IV sedation or general anesthesia based on patient comfort and procedure complexity.
Step 2: Implant Placement
Incision and Flap Design:
Make a crestal incision and reflect a flap to expose the bone.
Site Preparation:
Use sequential drilling with irrigation to create osteotomies for the implants.
Position six implants:
Anterior Region:
Two implants placed vertically in the front.
Posterior Region:
Four implants placed at an angle to maximize contact with available bone and avoid anatomical structures (e.g., sinuses or nerves).
Placement:
Insert implants at appropriate depths and angles. Ensure primary stability (torque ≥ 35 Ncm for immediate loading).
Healing Abutments:
Attach healing abutments or multi-unit abutments depending on the prosthetic protocol.
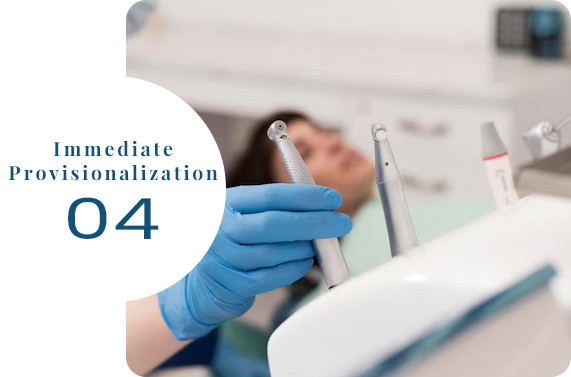
Immediate Provisionalization:
If primary stability is achieved, attach a temporary prosthesis for immediate function. Ensure the temporary prosthesis is out of occlusion in areas of heavy biting forces.
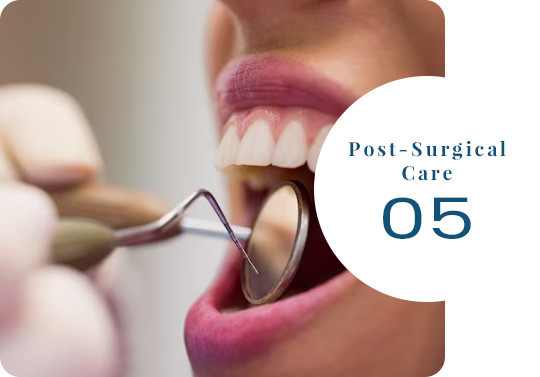
Provide detailed post-operative instructions, including:
Medications: Prescribe analgesics, antibiotics, and chlorhexidine mouth rinse.
Diet:
Recommend a soft diet to prevent implant overload.
Hygiene:
Educate the patient on maintaining oral hygiene around the implants. Schedule follow-ups to monitor healing and address any complications.
After Osseointegration (3–6 months):
Impression Taking:
Use closed-tray or open-tray techniques or digital scans for final prosthetic design.
Prosthesis Fabrication:
Customize the final prosthesis (e.g., zirconia, porcelain, or hybrid acrylic).
Attachment:
Attach the final prosthesis to the implants, ensuring a precise fit. Adjust occlusion to avoid excessive forces on the implants.

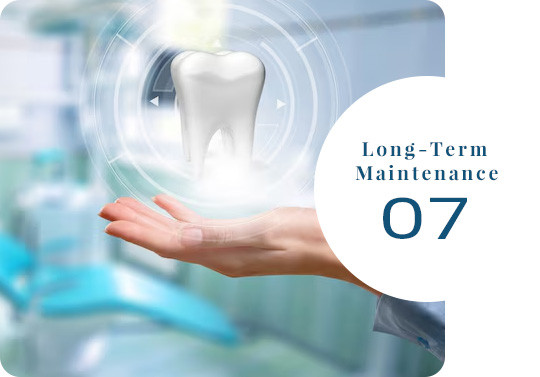
Schedule regular follow-ups every 6–12 months to:
Assess peri-implant health and prosthetic condition. Perform professional cleanings to prevent peri-implantitis. Educate the patient on daily oral hygiene practices and use of special tools like interdental brushes.
Advantages of All-on-6 Over All-on-4
Enhanced Stability:
Greater load distribution due to two additional implants.
Reduced Risk of Overloading:
Improved support for full-arch prostheses.
Better Bone Utilization:
Ideal for patients with adequate bone volume.